Package MSI – Example Foxit Reader + Language MST

Select Customer First


Before you start packaging, make sure you have completed the
Basic setup.

Start the IntunePrepTool as an Administrator. 
After that, always begin by selecting the customer.

Select Package MSI->Intunewin in the IntunePrepTool

First, click Package → Intunewin, and then select MSI in the IntunePrepTool.

Open MSI file in the IntunePrepTool

Select Open MSI file, then choose the MSI file you want to use.


In this example, we are testing with the Foxit Reader MSI file.

First, open the optional MST file with the preferred language.
You can also add an optional MSP update/patch file during this phase.
Next, enter a Package Name and Version (no spaces allowed at this stage). You can edit these later after uploading to Intune.
Finally, click Create Package Directory.

  1. When you click Open Source Directory, you can add any additional files to your source directory.
    The MSI and MST files are already included.
  2. Click Open MSI with Orca to edit MSI properties if needed.
    Use this only if you are familiar with Microsoft Orca.
    To install Orca, go to the Start / Config menu in the IntunePrepTool and click the Install Orca button.
  3. Click Add Custom Package Description if you want to provide a package description.
    This description will also be visible to end users in the Company Portal.
  4. Default MSI install parameters are shown here. Edit them if needed.
    The default values will work in most cases (approximately 19 out of 20 times).
    Example:
    msiexec /qn /l*v c:\ProgramData\gotomars\logs\FoxitPDFReader20252MSI.txt /i FoxitPDFReader20252_L10N_Setup_x64.msi TRANSFORMS=nl.mst
  5. Default MSI uninstall parameters are also shown here.
  6. Finally, click Create Install Script.
Click Test install (Powershell_ISE)

Click Test Install (PowerShell_ISE) to test your generated install.ps1 script.

This popup informs you that if you want to use Building Blocks, you can click the (Optional) Go to Building Blocks button after testing your installation. With Building Blocks, you can further customize your package with additional files/folders, shortcuts, and/or registry customizations. The IntunePrepTool uses the System context for the MSI installer, but with Building Blocks you can mix user and system context actions. For more details about Building Blocks, see this page.

For now, just click Yes, as this How-to guide does not use Building Blocks.

When needed, instructions on how to use Building Blocks can be found here.

Test MSI install script in Powershell_ISE
  1. Scroll down to the ### Place extra actions here: section of the script if you want to add any custom PowerShell code. This code will run in the System context when needed during the install phase.
  2. Always test your install.ps1 by clicking the Play button.
Very long verbose logging

PowerShell_ISE reads the verbose logging from the msiexec command.
If this takes a very long time, you can change the logging option from /l*v to /l*i.

You can choose the loglevel in the new versionof the IntunePrepTool:
IntunePrepTool-1-6-9-0 – IntunePrepTool.com

PowerShell_ISE logging output:


MSI (s) (4C:A0) [18:24:15:753]: Destroying RemoteAPI object.
MSI (s) (4C:EC) [18:24:15:755]: Custom Action Manager thread ending.
MSI (c) (14:7C) [18:24:15:760]: Decrementing counter to disable shutdown. If counter >= 0, shutdown will be denied. Counter after
decrement: -1
MSI (c) (14:7C) [18:24:16:825]: MainEngineThread is returning 0
=== Verbose logging stopped: 24/08/2025 18:24:16 ===

👉 For reference on what these messages mean, see the

Microsoft MSI Error Codes documentation
.

In the last 10 minutes, a Start Menu *.lnk shortcut file was created.
To remove this item in your package, add the following line to your install.ps1 under the comment ‘Place extra actions here:’


Remove-Item "C:\ProgramData\Microsoft\Windows\Start Menu\Programs\Foxit PDF Reader\Foxit PDF Reader.lnk" -Confirm:$false

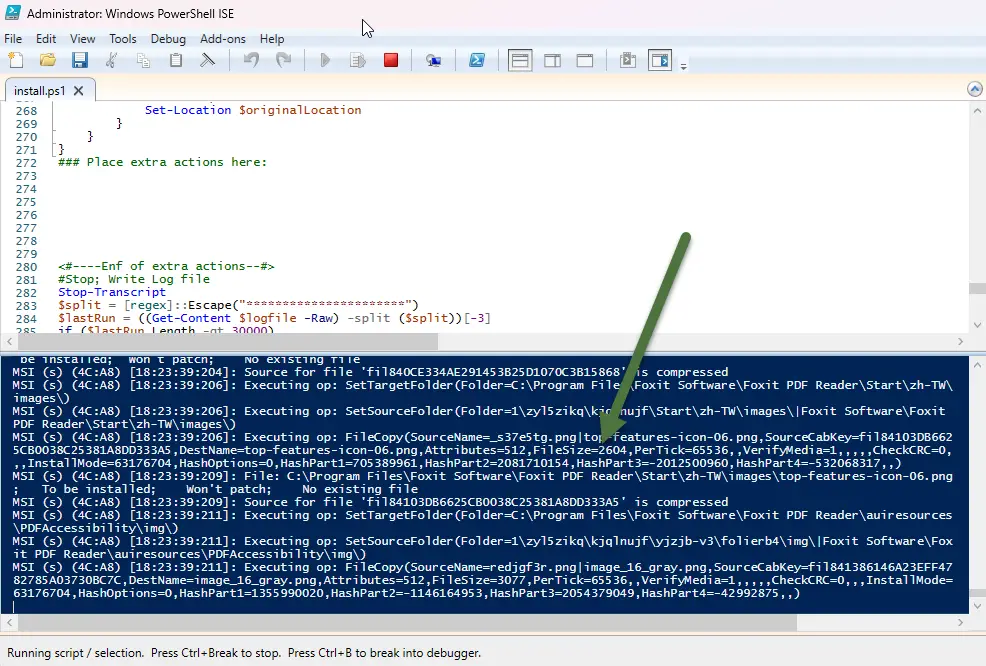
When Powershell_ISE is done in the default Verbose mode:
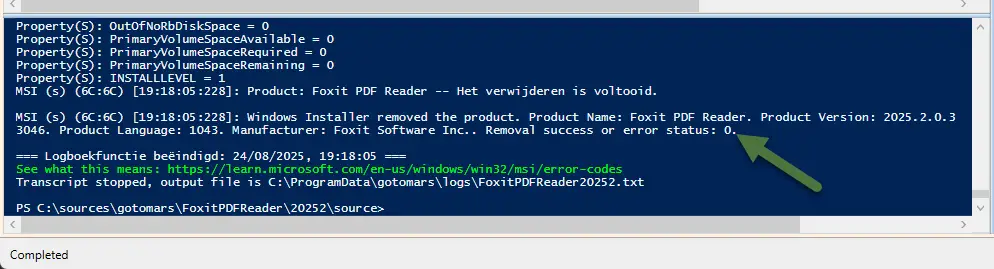
Near the end of the log, we see that msiexec is returning 0. at line:
MSI (c) (14:7C) [18:24:16:825]: MainEngineThread is returning 0
=== Verbose logging stopped: 24/08/2025 18:24:16 ===

This indicates a successful installation.

✅ Perfect! But sometimes you may see a different result.
Refer to the

Microsoft MSI Error Codes documentation
for the meaning of all return codes.

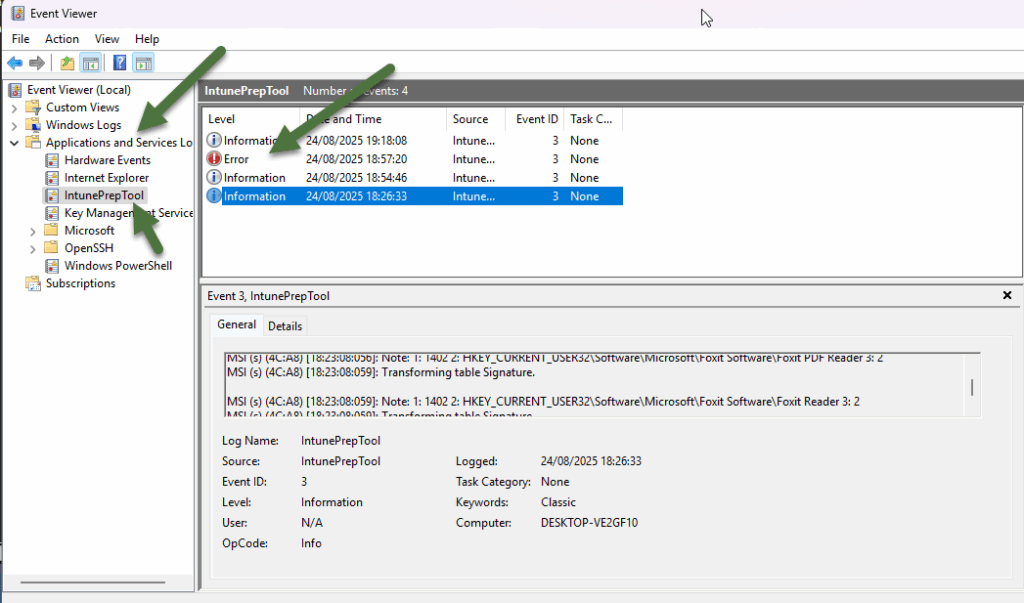
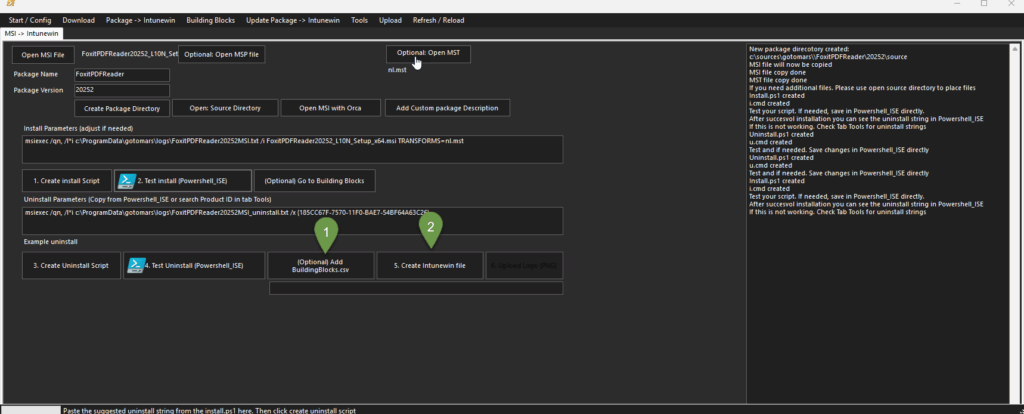
After that, you might also get messages such as:
“In the last 10 minutes a Start Menu or desktop shortcut was created.”
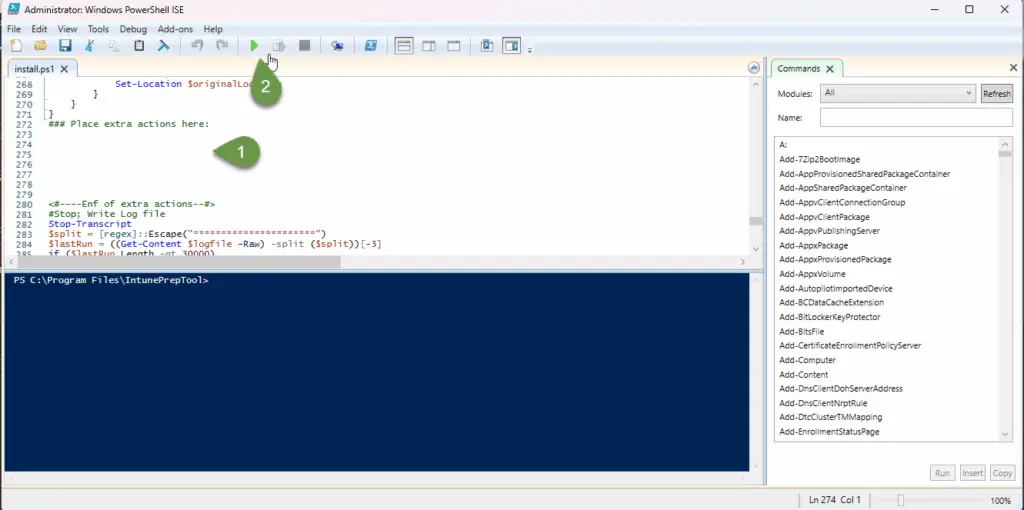
In such cases, the exact PowerShell line you can add to your install.ps1 script is also shown in the output. Place this under ‘### Place custom code here’


After successfully completing the installation test, you can select the optional
Go To Building Blocks button.
This topic is covered in a separate guide
here.

For now, continue to the next step.

Create and test Uninstall script
  1. Since verbose logging was too detailed during installation, start by editing the log level in the uninstall command. Change it from /l*v to /l*i. (Not recommended if you are new to packaging!)
  2. Click Create Uninstall Script.
  3. Click the Test Uninstall button.
  4. In PowerShell_ISE, click the Play button to test your uninstall.

⚠️ Important: Always test your uninstall script. Only with a working uninstall script can you successfully use the Supersedence function with the Auto Uninstall option in Intune.

A successful uninstall also returns 0 for success.

IntunePrepTool in Windows EventViewer

All logging is also available in the Event Viewer, under Applications and Services Logs → IntunePrepTool.

If you see an error like in the example screenshot, please resolve it. Otherwise, Intune will not report the installation as successful.

  1. After testing your uninstall, you can use the Add BuildingBlocks.csv button. (In this example, we are not using it.)
  2. Click the Create Intunewin File button.

A popup appears informing you that the IntunePrepTool will not respond during the creation of the Intunewin file. Click OK to continue.

  1. Here you can upload a PNG file for use in the Company Portal.
  2. This section shows all the values you need to enter when manually adding the newly created Intunewin file in Intune,
    including the detection method and install/uninstall parameters.
  3. It also shows the following:
    Config.csv written to:  
    c:\sources\gotomars\FoxitPDFReader\20252\output\config.csv

    Please make a note of this Config.csv file, as it will be required in the next step for the upload function.

Click Upload, then select Intunewin.

  1. Click the ‘Load config.csv’ button when you’re uploading a simple package without the use of Building Blocks.
  2. Select tenant or tenants.
  3. Click the Upload to Intune button.

Click Yes to continue. A PowerShell window will then open to handle the upload to Intune. Multiple tenants are supported.

When this window closes without any errors, everything is complete!

Leave a Comment

Your email address will not be published. Required fields are marked *

Scroll to Top